Table of Contents
- Introduction
- Planning Your Kitchen Cabinet Makeover
- Choosing the Right Paint and Supplies
- Preparing Cabinets for Painting
- Step-by-Step Painting Process
- Adding Finishing Touches
- Budget-Friendly Tips
- Maintenance and Care
- Conclusion
1. Introduction
Updating your kitchen doesn’t always require a full renovation. Painting kitchen cabinets is one of the most cost-effective ways to refresh your space and give it a modern, stylish look. With the right tools, techniques, and a bit of patience, you can transform your cabinets without breaking the bank. DIY cabinet painting not only enhances the aesthetic appeal of your kitchen but also brings a satisfying sense of accomplishment.
2. Planning Your Kitchen Cabinet Makeover
Successful projects start with planning:
- Assess Your Cabinets: Check the condition of your cabinets. Look for damage, scratches, or peeling old paint.
- Choose a Style: Decide whether you want a sleek modern look, a rustic charm, or a classic finish.
- Set a Budget: Calculate costs for paint, brushes, rollers, and optional hardware upgrades.
- Allocate Time: Painting cabinets is time-consuming. Plan for multiple days to allow for prep, painting, and drying.
3. Choosing the Right Paint and Supplies
Selecting the right products ensures durability and a professional look:
- Paint Type: Opt for high-quality acrylic or enamel paints designed for cabinetry. Semi-gloss or satin finishes are ideal for kitchens.
- Brushes and Rollers: Foam rollers provide smooth coverage; angled brushes help reach corners and detailing.
- Primer: Essential for bare wood or dark-colored cabinets to ensure even color and adhesion.
- Additional Supplies: Sandpaper, painter’s tape, drop cloths, cleaning solution, and cabinet hardware (optional).
4. Preparing Cabinets for Painting
Preparation is key to a long-lasting finish:
- Remove Cabinet Doors and Hardware: Take off handles, knobs, and hinges to make painting easier.
- Clean Thoroughly: Degrease surfaces using a mild cleaner to remove oils and grime.
- Sand the Surfaces: Lightly sand to create a smooth surface for paint adhesion. Use fine-grit sandpaper for a polished result.
- Apply Primer: Cover all surfaces evenly, allowing primer to dry completely before painting.
5. Step-by-Step Painting Process
Follow these steps for a professional-looking finish:
- Tape and Protect Surroundings: Use painter’s tape to protect walls, countertops, and appliances. Lay down a drop cloth to catch drips.
- First Coat of Paint: Use a foam roller for flat surfaces and a brush for edges and corners. Apply thin, even coats to avoid streaks.
- Drying Time: Let the first coat dry completely according to the paint manufacturer’s instructions.
- Second Coat: Apply a second thin coat for full coverage. Some colors may require a third coat, especially lighter shades over darker cabinets.
- Optional Glaze or Finish: Add a glaze or polyurethane for extra durability and sheen.
6. Adding Finishing Touches
Details make a big difference:
- Reattach Hardware: Consider upgrading handles and knobs for a fresh, modern look.
- Install New Hinges: If old hinges are worn, replacing them improves cabinet function and appearance.
- Adjust Cabinet Doors: Ensure doors align correctly and close smoothly.
- Accessorize: Add decorative elements like under-cabinet lighting or open shelving for extra charm.
7. Budget-Friendly Tips
Keep costs low without sacrificing quality:
- Shop Sales and Clearance: Purchase paints, brushes, and rollers during sales or clearance events.
- Use Leftover Paint: Repurpose leftover paint from previous projects if the color matches.
- DIY Hardware Upgrades: Spray paint old handles or knobs for a refreshed look.
- Focus on High-Impact Areas: Prioritize visible cabinets for painting if you need to reduce scope.
8. Maintenance and Care
Maintain your painted cabinets for long-lasting beauty:
- Regular Cleaning: Wipe down cabinets with a damp microfiber cloth and mild cleaner.
- Avoid Abrasive Tools: Use soft sponges or cloths to prevent scratching the paint.
- Touch-Up Paint: Keep leftover paint for small scratches or chips.
- Mind Moisture: Avoid excess water exposure around sink areas to prevent paint damage.
9. Conclusion
DIY kitchen cabinet painting is a rewarding project that transforms your kitchen on a budget. With proper planning, preparation, and execution, your cabinets can look modern, stylish, and professionally done. Incorporating thoughtful finishing touches and regular maintenance ensures your kitchen remains beautiful for years to come. This project not only saves money but also provides the satisfaction of completing a hands-on home improvement task.
SEO long-tail suggestions:
DIY kitchen cabinet painting, budget kitchen cabinet makeover, transform kitchen cabinets on a budget, affordable cabinet painting ideas, DIY kitchen remodel ideas, low-cost cabinet upgrade
Image Suggest Texts:
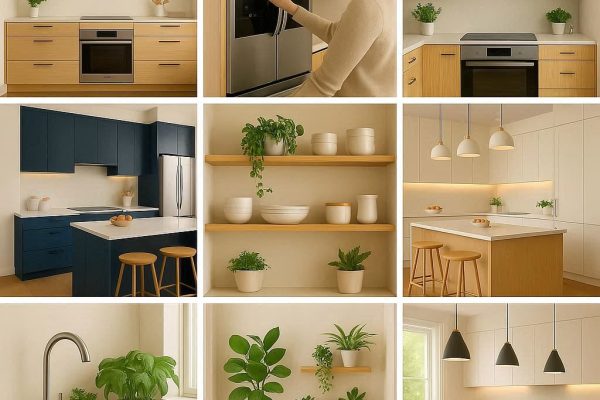
Kitchen cabinets before painting, preparing cabinets by removing hardware, sanding and priming cabinets, applying first coat of paint with foam roller, painting cabinet edges with brush, newly painted kitchen cabinets with fresh handles, close-up of cabinet door finish, kitchen drawers with DIY paint finish, completed kitchen cabinet makeover with modern style